Wed Feb 27 '19 Announcement
about 7 years ago
– Wed, Feb 27, 2019 at 10:06:14 PM
Hello dear backers,
Chinese holidays are done and now we’re back in business!
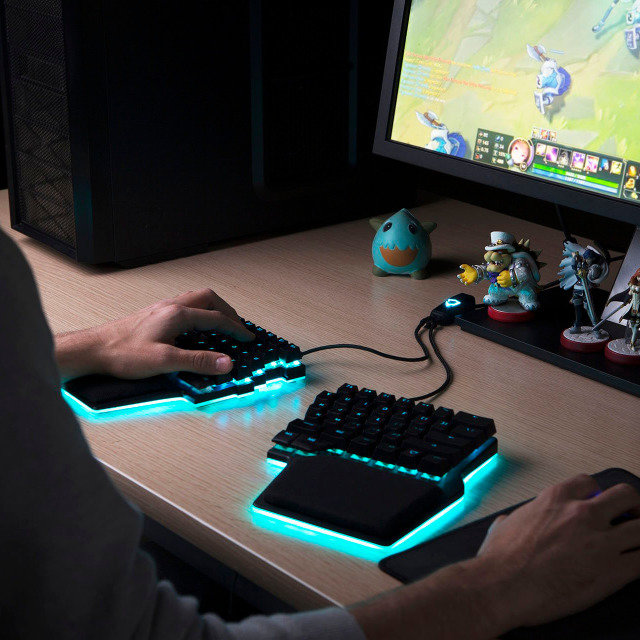
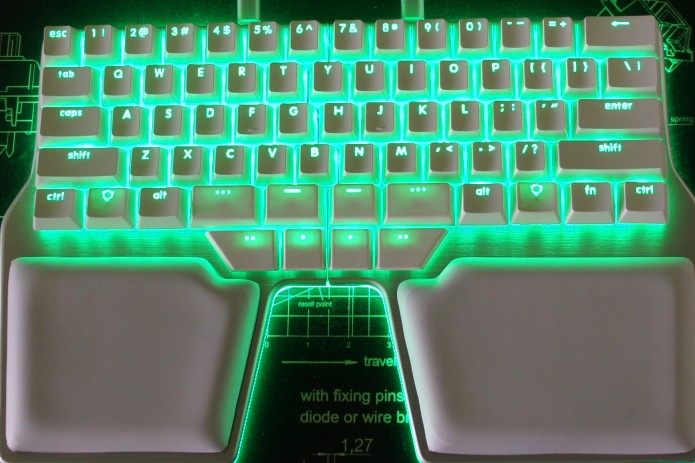
Silver Dygma Raise
As you remember from our last update, we sent our feedback to our suppliers but had to wait for their replies because of the Chinese New Year.
Since then, there have been more components that are already in the T-off, while others are very close to being finished. T-off means that they have been finalized and cleared for mass production.
Components in the T-off
These components have been approved and cleared for mass production.
· Mylar sticker
· Rubber feet
· Cables
· PET for the extras (extra switches, extra keycaps)
· Huble cover and plastic part
· Normal keycaps - PBT and ABS laser etching
· Metal pins
· Joint (on hold)
Components still being tested
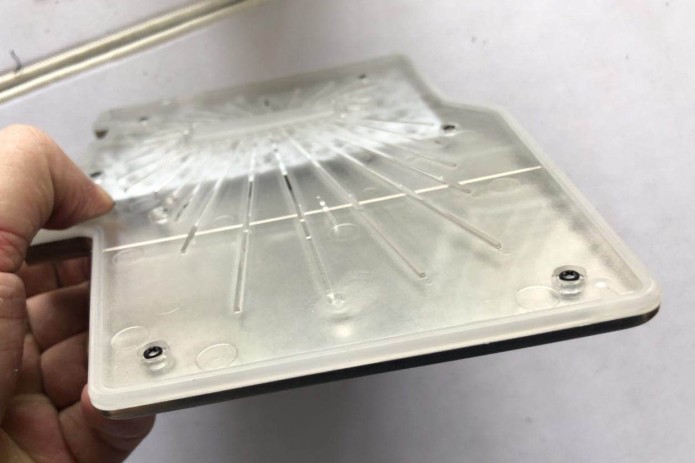
Out of all the components, the only one that needs modifying its tooling is the base. The problem with the dark spots is still evident but we found the solution. We will add small holes near to where the screws are. This helps reduce the dark spots and gives a more even distribution of light.
We have also decided to add a rib to make the casing stronger. The modification of the tooling has already been done and will get its final validation next week.
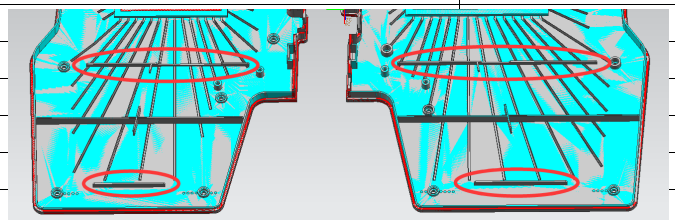
Additional ribs for the base
The top panel is also in the final tooling process. If all goes well, it will be cleared for T-off next week.
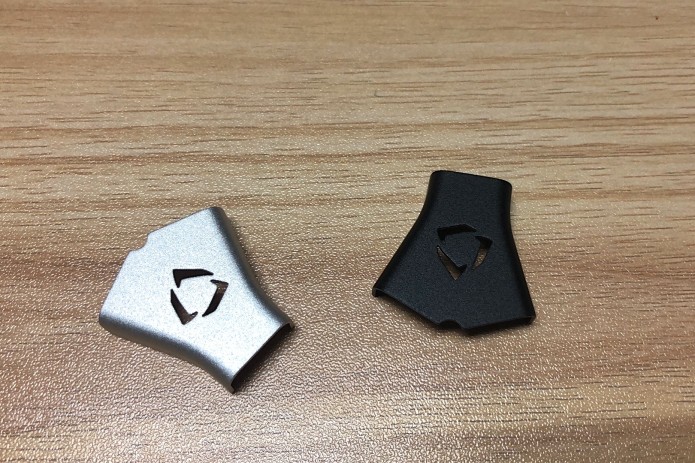
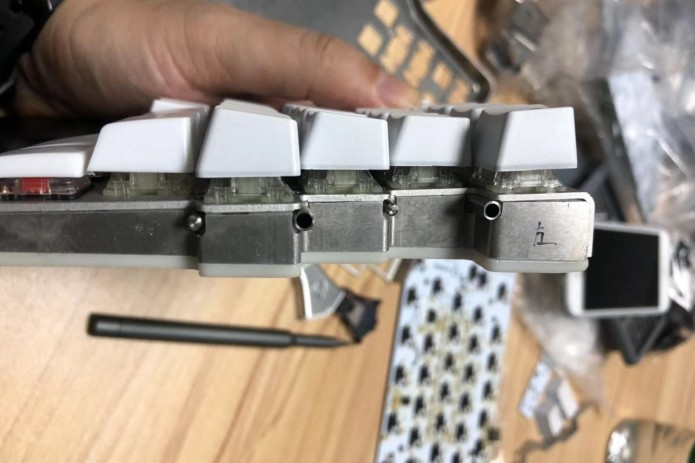
This leads us to the joint cover. If you still don’t know by now what the “joint or joint cover” is, it’s the metal component that is attached to the inner sides of the 2 halves of the keyboard.
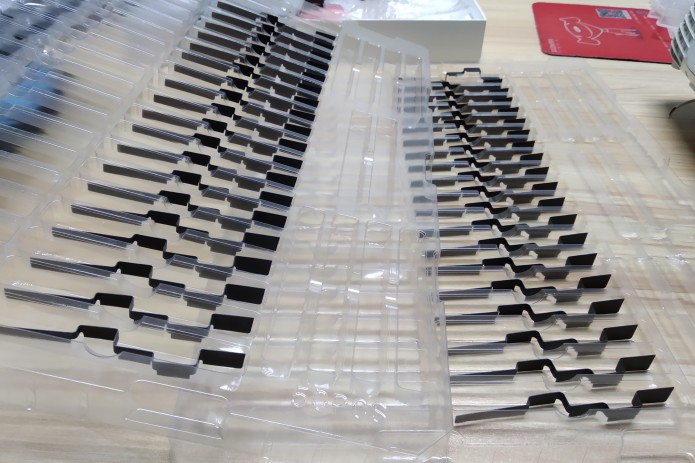
Set of joint covers
The joint is affected by the top panel. This is a tricky piece to perfect because it is affected by the base and the top panel. This component should already be cleared but we wanted to validate it again once we have the T4 top panel.
As for the special keycaps, we found out that the problems with the dimensions were really due to the mould. This isn’t a huge problem at all. In fact, it’s a difference of 0.15 mm between 2 keys. Our suppliers already acknowledged it to be a fault from their side so they will modify the mould and do one last test.
Unrelated to the tooling, the material used for the special keycaps have also already been modified. They will look exactly like the normal keycaps.
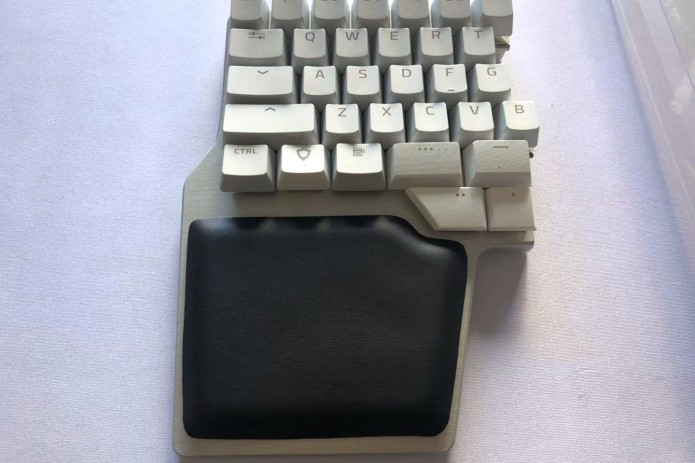
The palm pads also need to be modified but if it doesn’t work, we already have a Plan B, which won’t take too long. No need to worry about this piece.
One important thing that needs to be addressed as soon as possible is the electronics. The only problem we have with them is the certification. All the electronics are working properly, but we need to pass all certifications from a legal standpoint.

Pre-test in Valencia
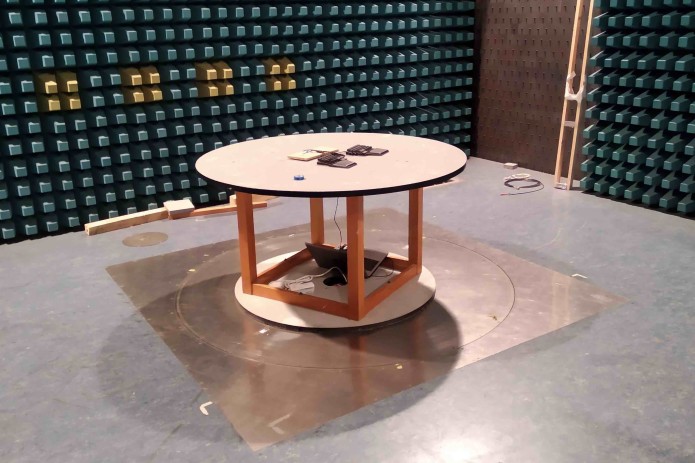
Testing facility
We did a few pre-tests here in Valencia. We passed the EMI but still failed the ESD. We weren’t able to pass the mark but it was so close! The ESD test involves shocking the keyboard 25 times in about 8 different points on the sides and Huble. We still occasionally get a failure (about 1 in 300 shocks).
Matt, our CTO, has been trying to figure out why we still failed. Good news is we’re close to getting it fixed and ready. He will do another pre-test when he goes to China on Feb 28 to March 8. Now it’s Matt's turn to oversee the operations and finalize the electronics and the certifications.
The main goal of his trip is to finalize everything so we can launch the DVT.
During the DVT, we will be doing a batch of 50 Dygma Raise samples. Fingers crossed, everything works and then we will proceed with mass production.
But this now means that we are pushing shipment to be more or less at the end of May.
We really wished we could push through with the best case scenario schedule but realistically it couldn't happen. We’re doing our best to motivate our manufacturers to get the job done fast and right!
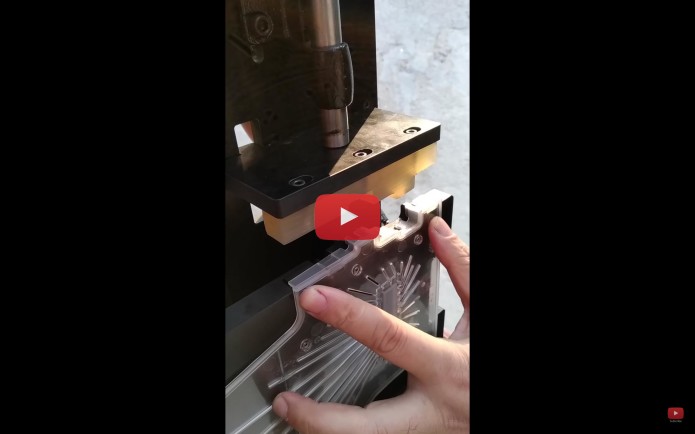
New video - How to remove and replace mechanical switches
Other than the manufacturing update, we’ve also done a video on how to remove and replace your mechanical switches! We thought this guide would be useful for those of you who aren’t familiar with hot-swappable switches.
How to remove and replace mechanical switches
Let us know what you think! If you have any suggestions on what other kinds of videos you want us to make, we’re all ears. You can also subscribe to our channel and catch our weekly uploads.
Also if you have any questions regarding manufacturing or anything under the sun, write it in the comments below or send us an email at [email protected].
Much love,
Dygma Team
____________
Like us on Facebook
Follow us on Twitter
Follow us on Instagram
Subscribe to our Youtube
Wed Feb 6 '19 Announcement
about 7 years ago
– Wed, Feb 06, 2019 at 07:58:48 AM
Hi guys!
Manel went to China on January 14-25 to visit all our factories. As you know, Raise is made up of many components, each coming from different factories.
It was a productive trip! Manel brought back a suitcase full of Raise components and samples from T1, T2, and some from T3!(Tooling Test 1, 2, 3)
Manel's goals for the trip
The updates below are a combination of videos from the trip, the challenges encountered, the next steps of each component, and our learnings.
All our NEXT STEPS have been relayed to our manufacturers. Unfortunately some of the factories started taking their holidays for the Chinese New Year earlier than expected. We assumed that all factories would have the same closing dates as our Assembly Factory. But some people started closing a week before.
We still don’t have the exact date of delivery. Once our manufacturers get back, we’ll get a better picture of when mass production will begin. As of now, we’re in the final stages to get all components to the T-off.
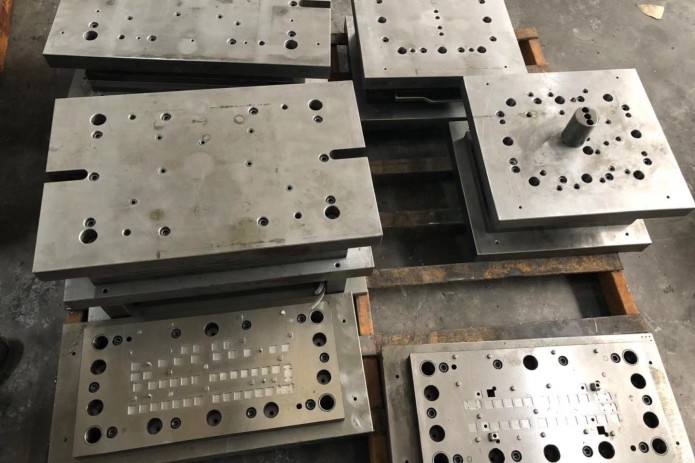
1. BASE
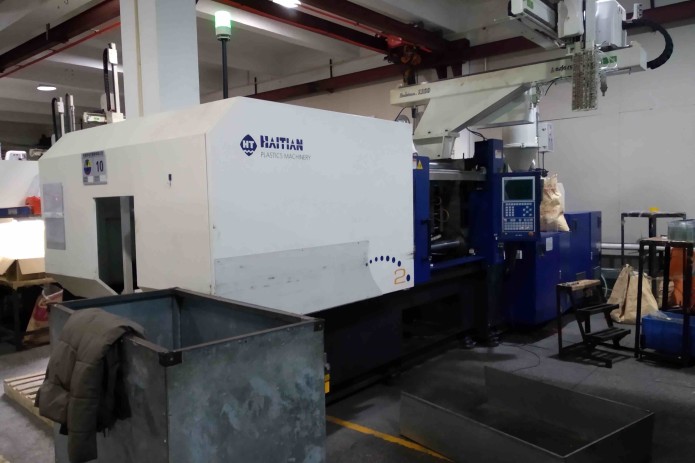
Tooling of the base
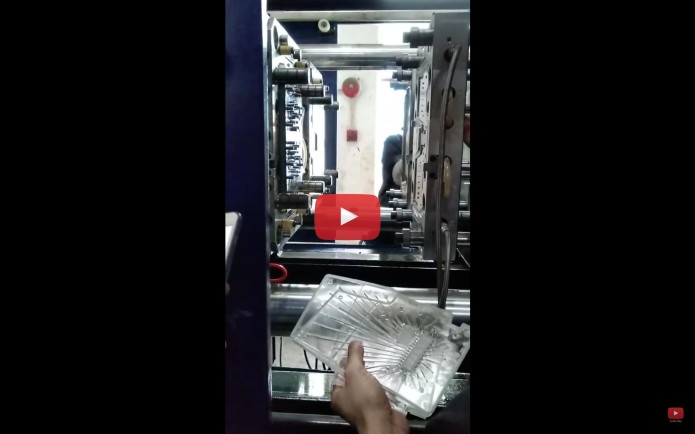
That machine in the photo above will create the base of your Raise keyboard.
And this is how it works!
How the base is made part 1
How the base is made part 2
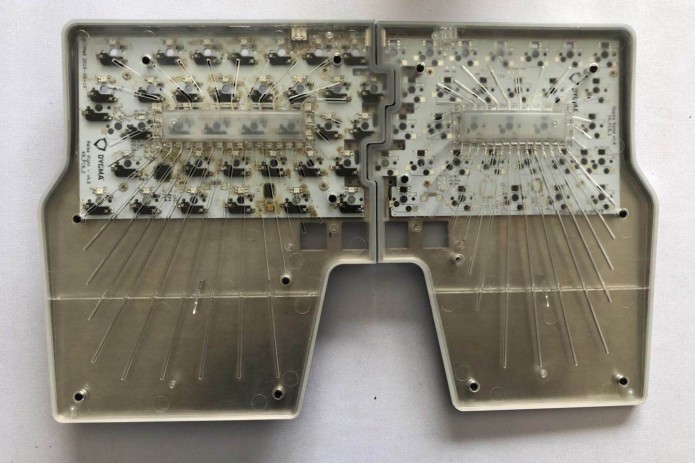
The base is made of 2 types of material: ABS and PC. Getting the right amount of each material is crucial.
We needed to get the right amount of transparency without compromising its sturdiness.
This was important because the quality of the base affects the underglow. The underglow needs to have both an even and intense light, without having any dark spots. We did numerous iterations to get the best mixture.
Base iterations
We achieved the correct mixture but we could still see a few dark spots. The dark spots are caused by the screws in the base that are blocking the light. They’re not clearly visible at first because the underglow is quite intense. But after a close look, they become slightly noticeable.
NEXT STEPS
We asked the supplier to reduce the screw housing depth to eliminate the dark spots. We’ve also asked for alternative solutions from our light consultant but we are still waiting to test the best solution.
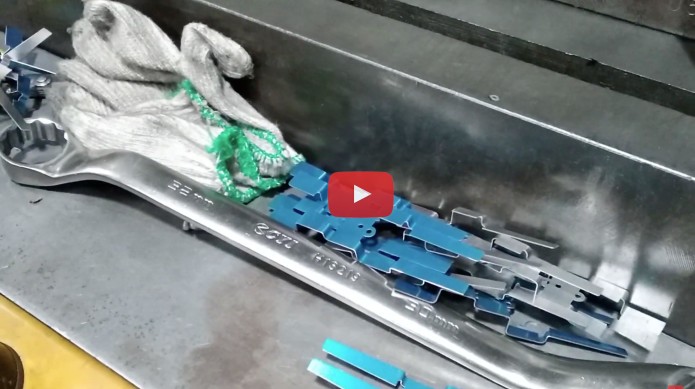
2. JOINT
How the joint is made
The manufacturers already solved the problem we had with the metal bending. However we noticed a 0.1 mm gap between the joint and the top case. When the lights are on, you can slightly see light coming out.
NEXT STEPS
We need to modify the mold to get the right fit. We will have this fixed after the Chinese New Year.
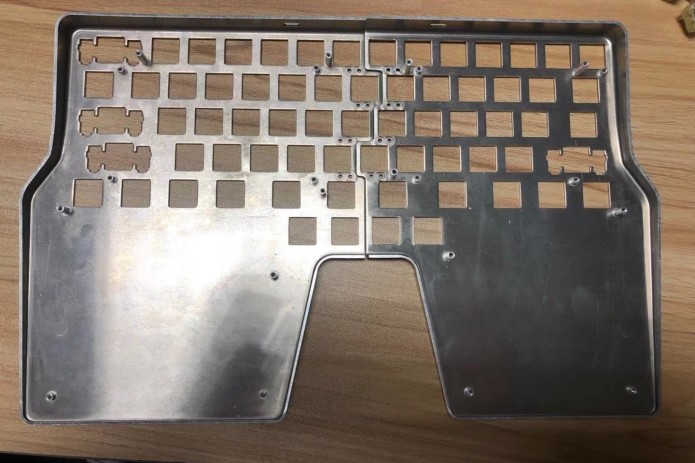
3. TOP PANEL
The finishing of the top panel looks beautiful. We are happy with the work of our metal factory.
In the first iteration, there was a small gap between the top panel when the keyboard is attached. But this has already been fixed.
NEXT STEPS
The manufacturers will make another iteration of the top panel and then we will check it.
4. HUBLE METAL COVER
The Huble has already been approved and is in the T-off. Yey!
5. HUBLE PLASTIC PART
We needed to fix the logo dimensions and position in the Huble. This required us to make another mold.
But everything worked out great! This component is also in the T-off.
6. MYLAR
The Mylar is close to being approved. We already found the right colour for it to look similar to the top panel, especially for the silver Raise.
NEXT STEPS
We need to make the final iteration with our logo at the bottom.
*Manel's mid-journey insights*
7. RUBBER FEET
The material, texture, and color of both white and black rubber feet are great. We’re really happy with how it looks. But after close inspection, we found that the bottom ones were slightly wider than what we had agreed upon with the Golden Prototype.
NEXT STEPS
All rubber feet need to have a width of 3.5mm. Our manufacturer needs to correct this for the next iteration.
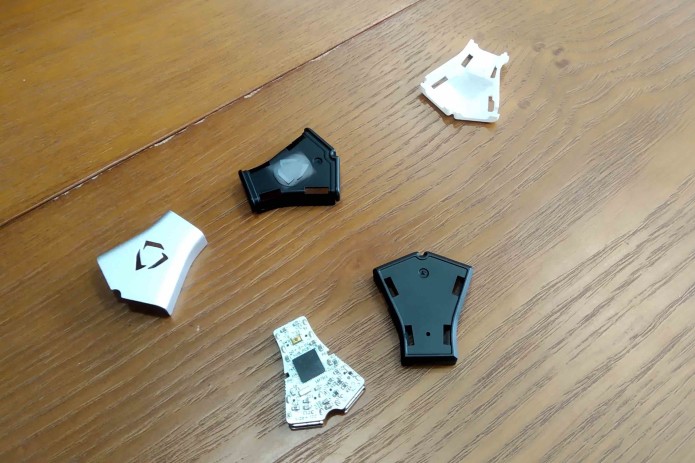
8. SPECIAL KEYCAPS
We encountered a few minor problems with the special keycaps..
The first issue we have was that the set of black special keycaps had a different color to the other keycaps.
The black special keycaps look lighter than the rest of the keys.
And with the white special keycaps, the light seems to shine through more than the normal keycaps.
We also saw some inconsistencies with their dimensions. At close look, the spaces between the keys weren’t uniform. But this wasn’t a problem with the design, it was a problem with how the mold was used.
NEXT STEPS
We asked the double-injection factory, the one who makes our PBT and ABS keycaps, to send us the formula of the mixture they use for their keycaps. Our special keycaps manufacturer will follow the exact formula. Since they will be using the same amount of materials, the quality of the special keycaps should be the same as the other keycaps.
As for the dimension problems, we already instructed the workers how to make the special keycaps, following the molds correctly. We need to do one last test with the right material mix, then we can validate the tooling.
9. METAL PINS
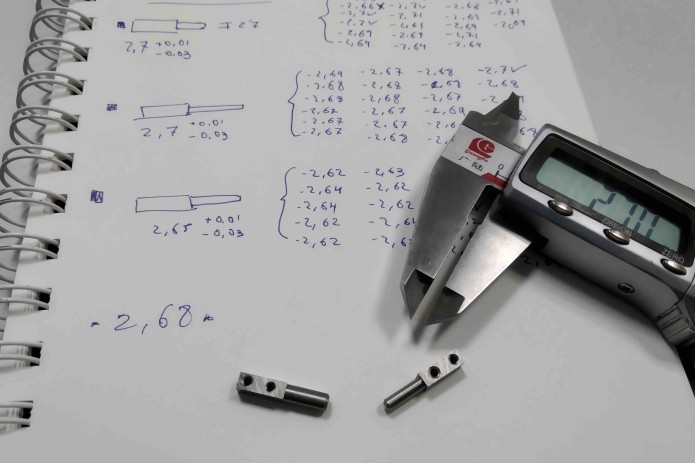
When manufacturing a piece this small, there will inevitably be one that’s +0.01 or -0.03. We found out that even the additional 0.01 mm makes fitting the joint a bit difficult.
NEXT STEPS
We need to update the dimensions and tolerance of each metal pin.
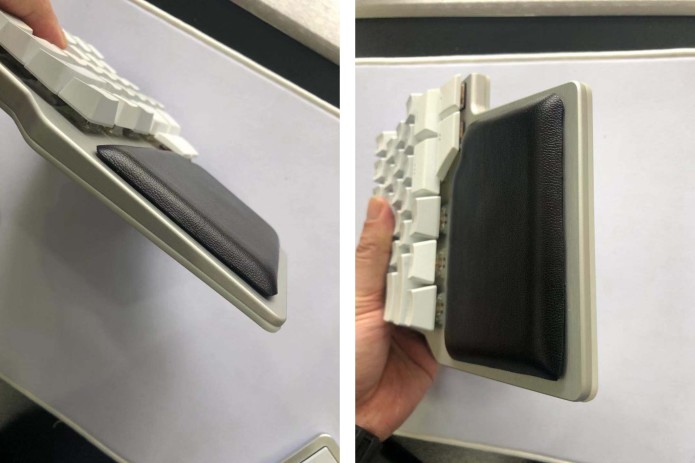
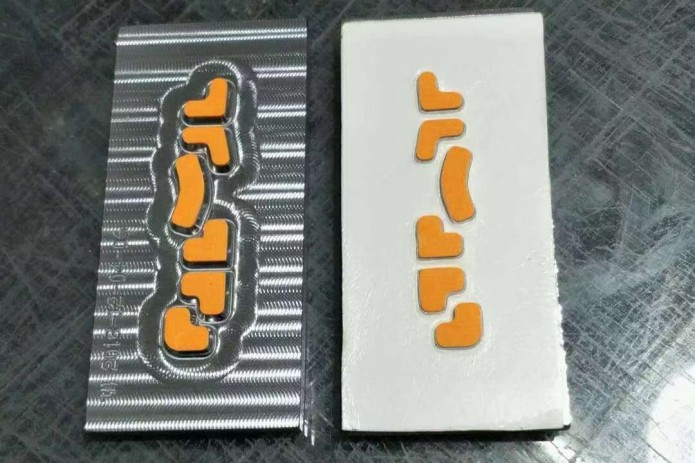
10. PALM PADS
The casting tooling for the palm pads is ok. But we weren’t happy with the hand-made cut, giving them rough edges.
We also needed to decide on a different material of the top layer because the first one didn’t have a white counterpart.

Second palm pad sample
NEXT STEPS
We will create a new die cut tooling so we can solve the issue with the rough edges.
We are now waiting for the final sample with the material we want on the top layer, which is matte, and with the correct anti-slip material.
11. ELECTRONICS
Good news is that the factories have our test jigs and they're all working.
Bad news is that we are still in the pre-certification stage. We had problems passing the ESD test again. We were so close to passing but unfortunately we have to re-do this test.
NEXT STEPS
We need to modify the Huble’s electronics. This doesn’t affect the keyboard’s functionality. It's more of a legal certification needed before we ship.
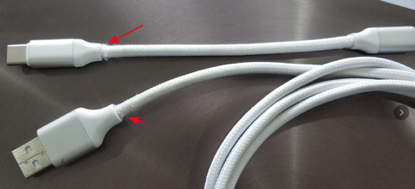
12. CABLES

We’re happy with the flexibility and the quality of the cables. However as you notice in the photo above there’s a small gap between the plastic jacket and the Huble.
NEXT STEPS
We need to modify a few things with the connector so the metal part of the cable is less visible.
We also still need to do the final improvements by adding more shielding without destroying the braiding.
That’s all for the components!
We have also been working on the logistics, packaging, and all the final things needed for when we fulfill all your orders.
We’re really in an exciting time in the manufacturing process as this is the last leg of the project. It is also the most important part!
When our suppliers are back from their holidays, we'll be on it again at full speed to ensure that you get the best product you’ve all been waiting for ?
FINAL THOUGHTS
Thanks for all of your support throughout this time.
We're almost there!
- Dygma Team
Mon Jan 28 '19 Announcement
about 7 years ago
– Mon, Jan 28, 2019 at 06:02:23 AM
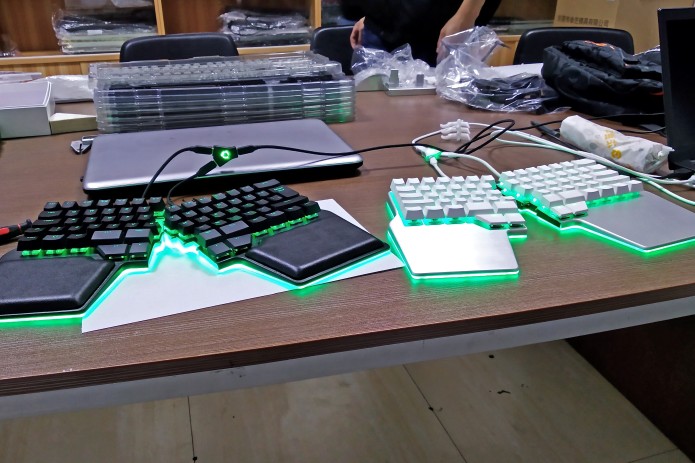
Black and Silver Dygma Raise
Hello everyone!
Manel arrived from China last Friday. He brought with him a few Raise keyboards that were from the T1 and T2, some extra components, and loads of photos and videos!
We still need to organize the resources and compile them into a more thorough update.
So expect another report with the developments of the Raise keyboard soon!
In the past 2 weeks, Manel visited our manufacturers in China and made sure all Raise components were ready for the T-off.
If you remember the manufacturing timeline we posted in our previous update, the T-off is a milestone. It’s when we validate that components are ready for mass production.
Some components have already been approved and are in the T-off, while there are still some that need modifications. But we are close to validating everything.
One issue we have now is the Chinese New Year coming up. It will be almost a month of holidays for the factories in China. So we are pushing our partners to work extra this week!
In the meantime...
We’d like to share a few Youtube videos we’ve made in the last few weeks. We’re trying to grow our Youtube channel so if you guys have any feedback or content ideas, let us know! We are planning to upload content weekly so subscribe to our channel to catch our latest videos ?
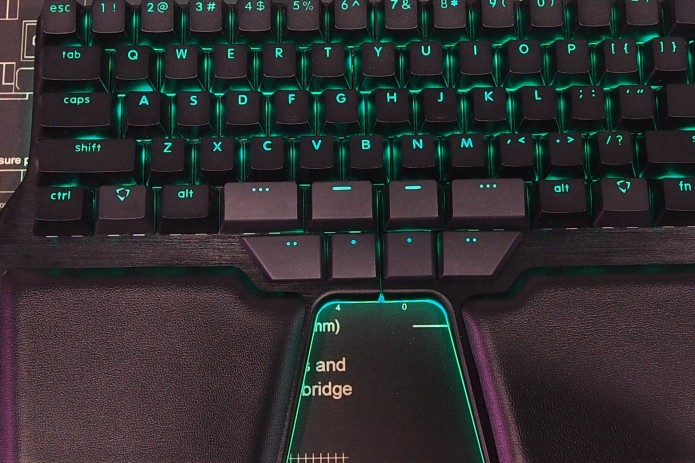
The first video was made a few weeks ago. Some of you might have already seen it. It’s about the 8 configurable thumbkeys. Manel explains the concepts behind the design and why we created them the way we did.
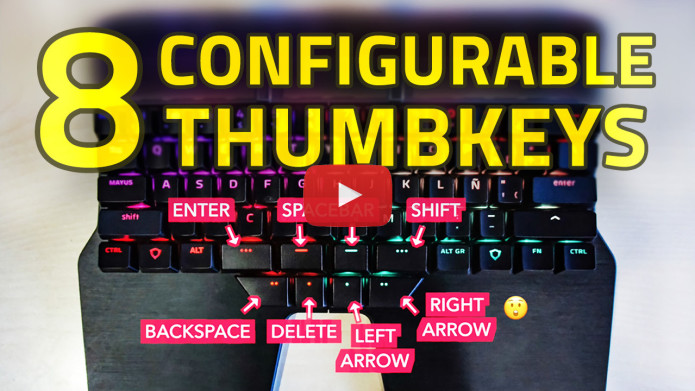
8 Configurable Thumbkeys
The other video is a sound comparison of the 6 different Clicky switches we have here in the office. We thought it would be interesting for some of you to know how these different Clicky switches sound when compared to others.
If there’s any specific switch you’d like us to compare, write them in the comment section.
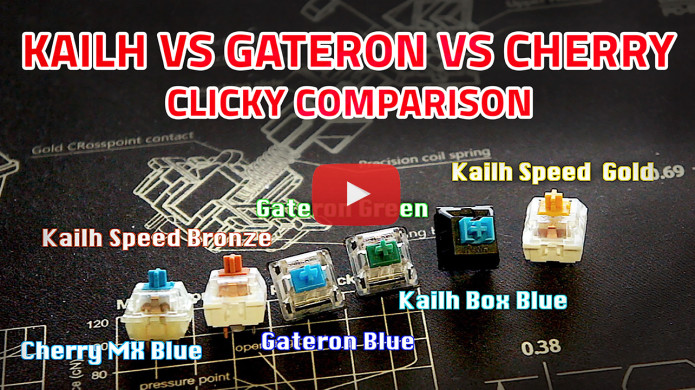
Kailh VS Gateron VS Cherry - clicky sound comparison
That’s all for now!
We hope you guys liked the update. If you have any questions or comments, feel free to post them below. You can also contact us directly at [email protected] ?
Again, we will post another thorough report of the manufacturing developments soon so stay tuned!
Thanks!
- Dygma Team
____________
Like us on Facebook
Follow us on Twitter
Follow us on Instagram
Subscribe to our Youtube
Sun Jan 13 '19 Announcement
about 7 years ago
– Sun, Jan 13, 2019 at 02:32:26 PM
Hello there and welcome to the new year! 2019!
We hope everyone had a great holiday break! Now, back to the grind and most importantly, the updates on the manufacturing of your Dygma Raise keyboard.
Before we give you the updates, we’d like to share with you a short video of Manel and Matt’s last trip to China in October 2018. They give a quick tour inside the factories and talk about the different tooling pieces that the components of the Raise keyboard are made from.
Manel will be flying again to China on January 14 to visit all the factories and see how everything is going. It would be great for him to be there and see all the components in person so he can inspect them one by one.
We will make another video of his trip so please don’t forget to subscribe to our Youtube channel! We are aiming to publish videos weekly.
And now...
Manufacturing updates
What are the T1 components?
T1 is the Tooling 1 phase where we get a glimpse of the first tooling components.
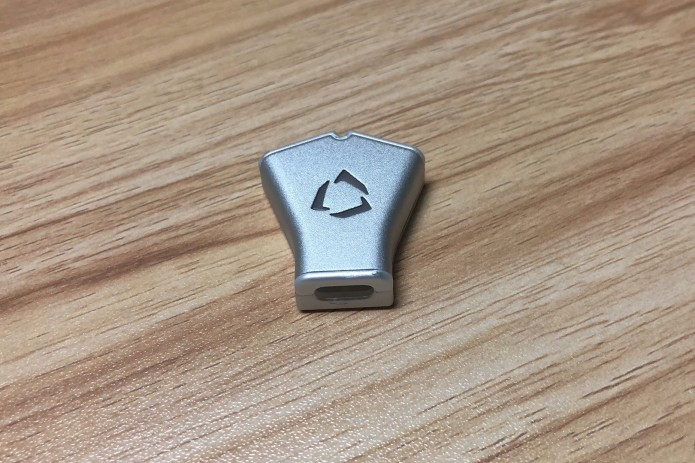
We already talked about the Mylar (bottom plate), the palm pads, the rubber feet, the translucent part of the Huble, and the keycap/switch puller, and showed you photos and videos in the previous updates. These components are well on their way to the T2 phase (Tooling 2).
We have more updates and photos of some of them:
· Palm pads
New photos of the black palm pads
· Mylar
We are deciding whether to change the colour of the Mylar bottom of the silver version. We noticed that it didn’t match the colour of the silver aluminium. And this is why it’s good for Manel to go to China so he can clearly see the colour that matches well with the aluminium.
We also have more T1 components coming in.
1. Huble metal cover
Metal cover of the Huble - silver and black version
We received photos of the metal cover of the Huble. It attaches perfectly with the plastic translucent piece.
Silver Huble
2. Joint piece
Joint piece attached
The joint piece is a tricky piece. Our manufacturers told us that there was a problem wherein the joint would bend as shown in the image below. But they also said they have a solution for this.
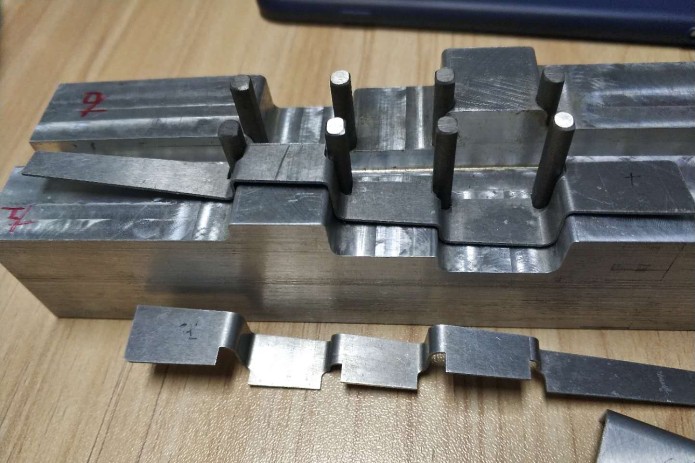
Jig used to validate the shape of the joint
We will redo this for the T2 and see if the deformation persists. If we can’t fix the deformation properly, we will use a strong glue to bring it to place.
3. Cables
The cables don’t need a tooling, however, they do need to be certified. In order to get the certification, they need to be shielded. And the higher the quality of the shield, the better.
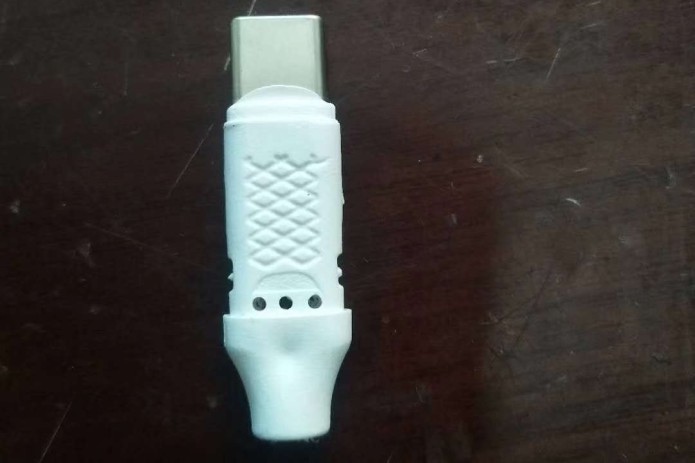
Cable shielding
Our supplier modified the cable connectors to add the shield inside but as a consequence, the braiding of the cables looked worse.
Cables with damaged braiding
Our plan with this is to first pre-certify the new cables. Once that’s passed, we will make the necessary changes to improve the look and also its flexibility.
4. Top case
Tooling components of the top case
Photos of the top case seen for the first time!
Top panel - raw material
The dimensions of the top case are good but there was a small problem. A gap formed in between the two sides. This will be fixed once we add more allowance to the metal sheet. We will also add more steps to the CNC at the end of the process.
The problem was not with the tooling itself, but with the execution. So it will be an easy fix.
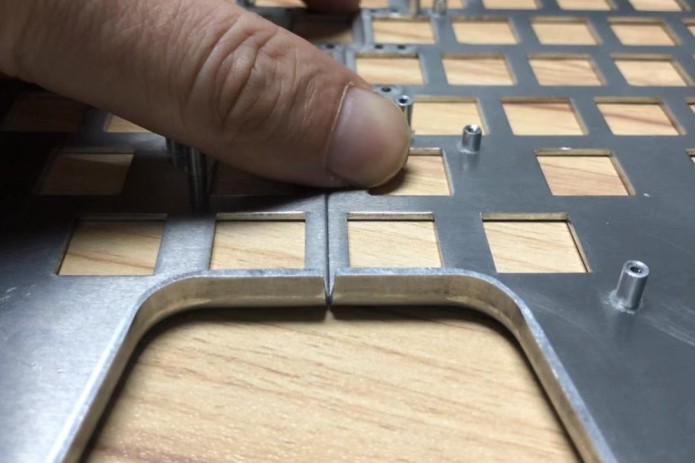
Gap in between
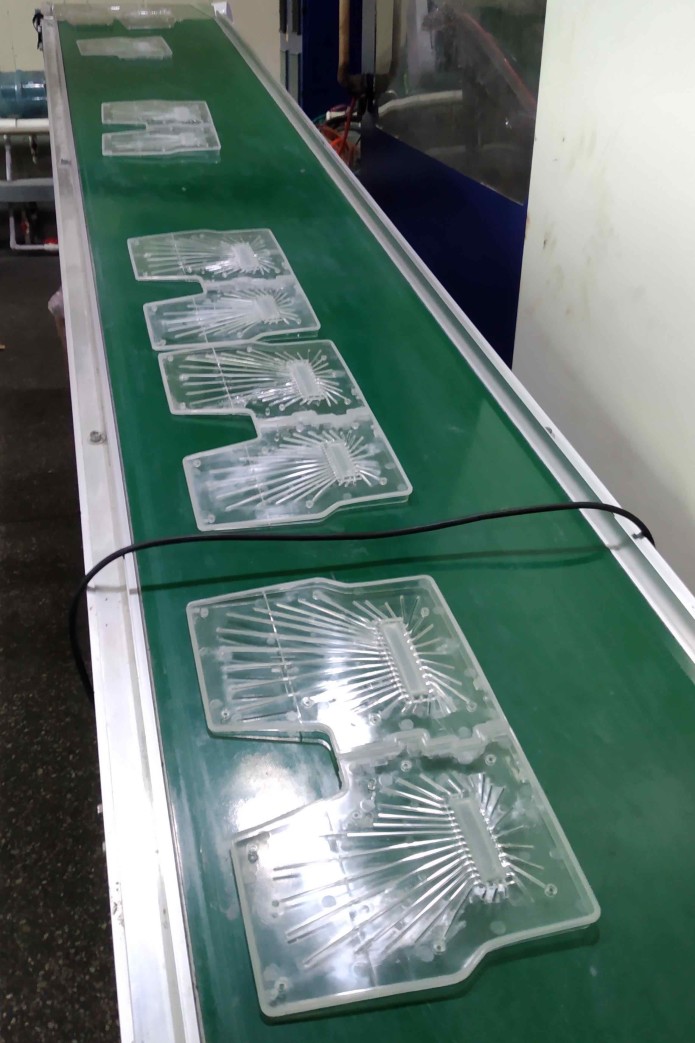
5. Base
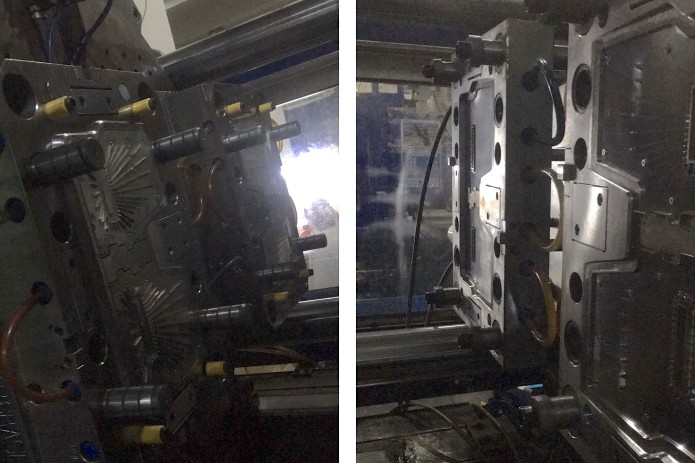
The tooling of the base
The base attached to the top panel
The base is looking good! It fits well with the top case and with the PCBs inside. We still need to do some minor adjustments. Manel will properly check this piece and prepare everything for the T2.
Left base
6. Metal Pins
We received the first set of metal pins. We have good samples but they're not yet good enough for the production line. So they need to be redone. We will wait for more updates for the T2.
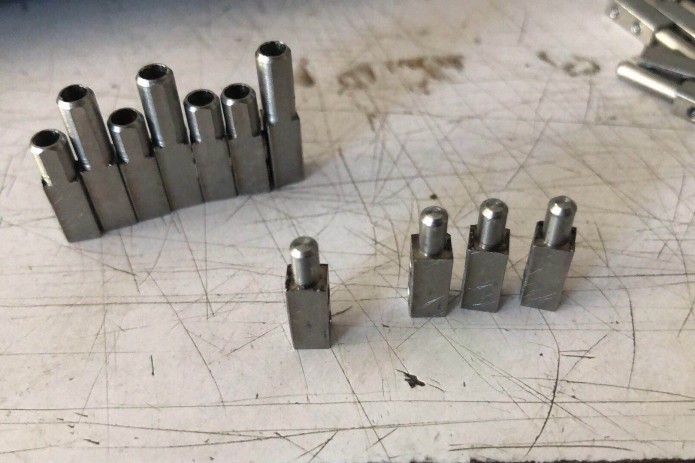
Metal pins for the joint
7. Special keycaps
We first did the white special keycaps. The dimensions and fit are good. But their colour in the photos we received looks different. Again, Manel will validate this during his trip and will update us then.

White keycaps
And that’s all!
As you can see, there are some components that need modifications. It’s normal to have these changes during the T1. But we are pushing our manufacturers to get them right for the T2 and some for the T3.
We are hoping to finish most of the components on the second tooling phase. All in all, we are pleased to say that we are still on schedule and in the best scenario track!
Fingers crossed, it stays that way! ?
We are in a very exciting part of the manufacturing process. This is the moment where we learn if our design and engineering decisions are right. We also learn more about the actual problems faced in the hardware and manufacturing world, such as logistics, assembly flow, quality control, etc. It has been exciting, frustrating, but overall, fulfilling.
We hope you liked this update. Thank you for spending time reading it!
For other concerns such as the tenting and the configuration software, we will post an update once we have them.
If you have any questions or comments, feel free to post them below. You can also contact us directly at [email protected]. We will tend to you as soon as possible ?
- Dygma Team
____________
Like us on Facebook
Follow us on Twitter
Follow us on Instagram
Subscribe to our Youtube
Sun Dec 30 '18 Announcement
over 7 years ago
– Sun, Dec 30, 2018 at 02:17:31 PM
Hello there dear backers!
As we approach the last day of the year, we thought it wouldn’t be complete if we didn’t give you one last update on your Dygma Raise keyboard ?
In the next few days, our factories will be preparing some of the toolings for the first tooling testing, which will happen in the first two weeks of January.
What is the tooling and why is it so important? Read all about it on our blog.
We have also been regularly receiving photos of the component samples from the factories.
1. Palm Pads
New photos of the palm pads! We’ve only received photos of the black ones for now. But we are happy with how their shape turned out.
Black palm pad on the silver Raise
There are a few issues that need correction, like the jagged cut of the edges. But it’s normal to have these modifications during the preliminary tests. We still have plenty of time to make the necessary adjustments.
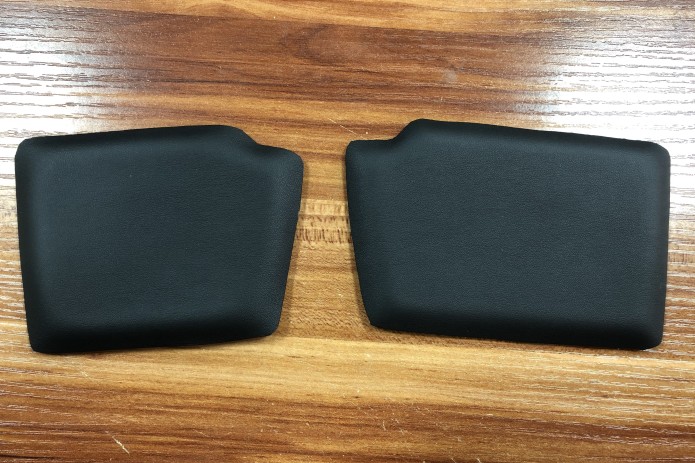
Black palm pads
2. Mylar bottom panel
We now have images of the die cut tooling of the Mylar bottom plate.
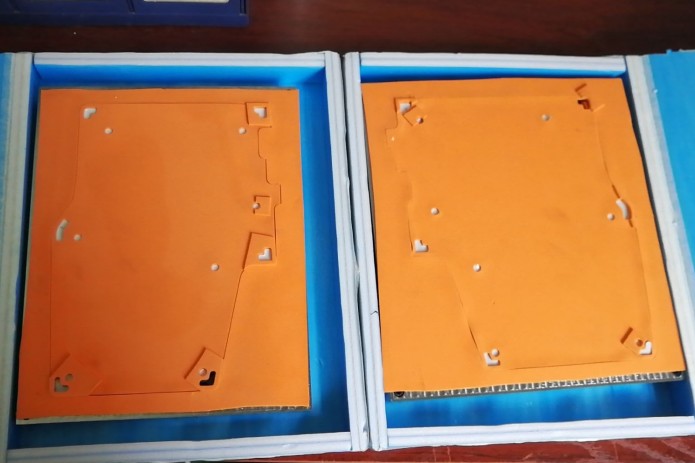
Tooling of the bottom panel
3. Rubber feet
We also have images of the die cut tooling for the rubber feet.
Tooling of the rubber feet
4. Huble
Another component that we’re happy to receive photos of is the translucent part of the Huble.
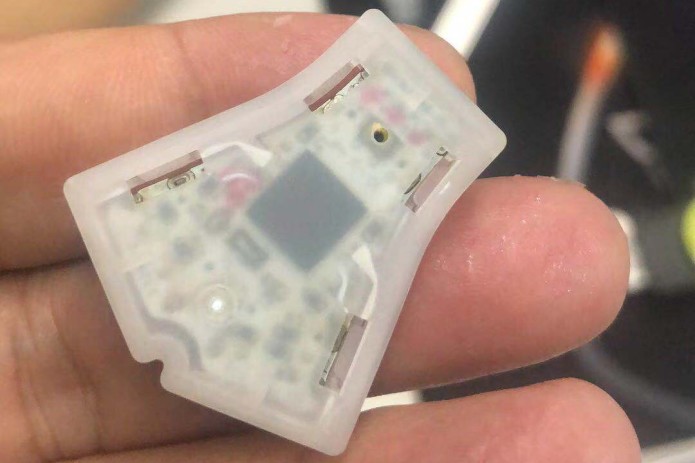
Translucent part of the Huble
Our guys in the factory placed the PCB inside it and they all fit perfectly. The next component that we can expect to see for the Huble is the aluminum cover.
Besides the developments from manufacturing, we also have some developments from the electronics side. They both go hand-in-hand, especially as we work toward having a high-functioning assembly line.
5. Keyboard LEDs
The LEDs have been sorted and we will receive the correct LEDs in the first week of January.
If you didn’t watch Matt’s Quality Control check on the LEDs, you can watch it here.
6. Test jigs
Test jigs are needed in multiple places in the assembly line. There are test jigs that need large machinery and those that don’t. Either way, these test jigs need to be easy to use for the people in the PCB factory and assembly factory. We also need to make them in a way that we can monitor the test statuses periodically.
Matt is working on automating most, if not all the programs for the test jigs. And early next year, he and Manel will be going to Shenzhen to oversee the operations of the manufacturing and electronics. While there, they will finalize the test jigs and make sure everything is working properly.
It will be a busy few months but we are all excited for more updates. And that’s a wrap for this update! And this year!
Thank you, everyone, for being with us in this spectacular year! There had been many ups and downs but we’re super happy to be given the opportunity to turn this project into a reality! From the bottom of our hearts, thank you!
Get ready for 2019! It will be an even more amazing year. And we all know why! ?
Happy New Year to all!
- Dygma Team
____________
Like us on Facebook
Follow us on Twitter
Follow us on Instagram
Subscribe to our Youtube